I'll never forget the tension when Charles Rookwood revealed his descendant's betrayal after my first Keeper trial. The urgency in his magical portrait propelled me toward Rookwood Castle, where ancient secrets and dangerous alliances between Ranrok's Loyalists and goblins threatened the wizarding world. This second trial became my most challenging magical test yet - a labyrinth of puzzles, portals, and Pensieve Protectors guarding Charles' crucial memory. As I navigated enchanted archways and battled invisible enemies, I discovered that Basic Cast spells and Wingardium Leviosa held more strategic value than I'd ever imagined in Hogwarts Legacy.
🏰 Infiltrating Rookwood Castle
Located deep in Feldcroft Region's southwest corner, the fortress required careful approach. Professor Fig met me at the entrance, warning of Ashwinders and Loyalist Rangers waiting inside. I used Feldcroft's Floo Flame for quick access, then took a stealth approach until the inevitable ambush forced combat. After defeating the guards, I moved crates with Accio to scale the crumbled walls - a simple solution requiring precise spellwork. Inside the courtyard, Ranrok and Rookwood's heated argument revealed their fragile alliance before Ashwinders swarmed me. Throwing environmental objects became essential against the Executioner!

🖼️ Meeting the Portrait
Descending into the castle's depths, I found a door locked with Ancient Magic symbols. Locating all three metal sigils (including one hidden behind breakable boards) granted access to the cellar. Beyond a breached wall, Ranrok's corruption of an Ancient Magic reserve confirmed the danger. Then, in the next chamber - there he was! Charles Rookwood's portrait emanated both wisdom and urgency. Touching the frame activated a nearby magic pool, revealing an archway to the trials. That shimmering portal became my gateway into five increasingly complex magical challenges.
🔷 Phase 1: Portal Cubes
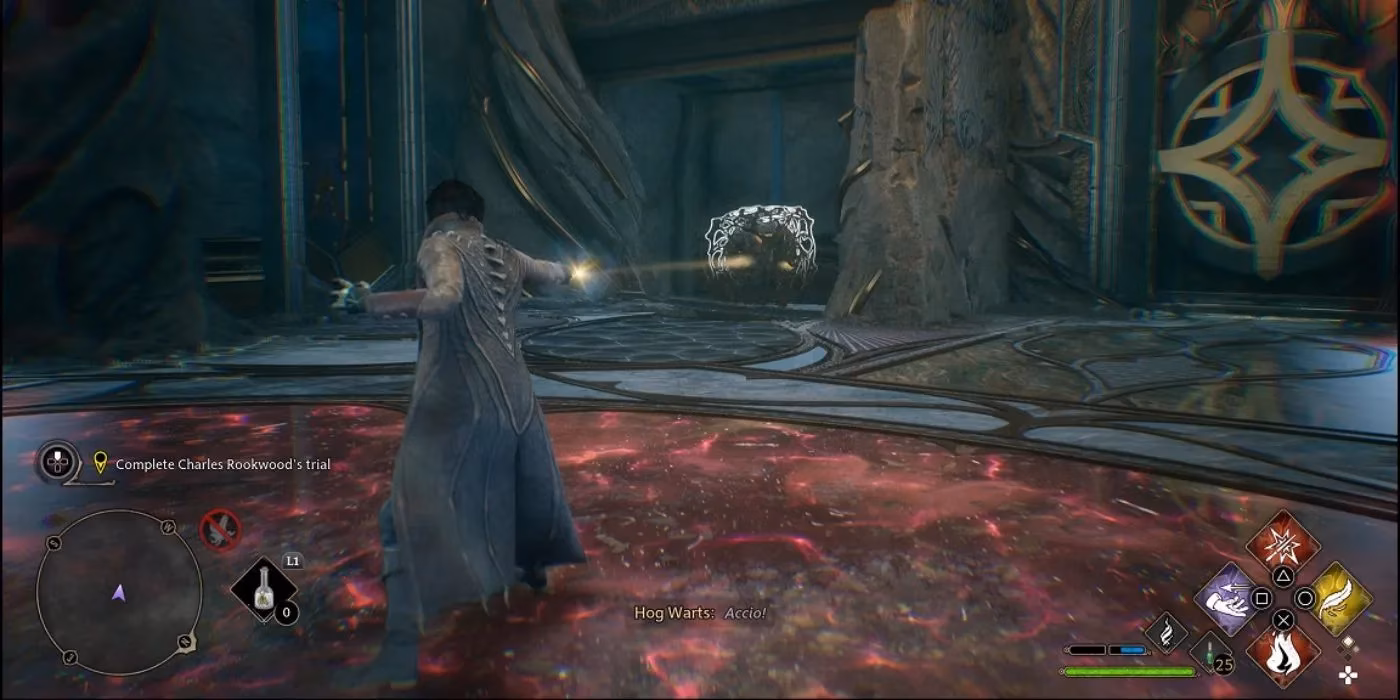
The first phase felt deceivingly simple. Activating an Ancient Magic spot spawned a cube, while Accio pulled another crate from beneath the target exit. Positioning them required spatial awareness: stacking boxes under the central archway portal, then pulling the second cube through to create a climbable pillar. I learned quickly that objects solidified when crossed through portals - a mechanic that would prove crucial later. This introductory puzzle taught me to view portals as transformative gateways rather than mere passages.
🔍 Phase 2: Hidden Symbols
Crossing the bridge revealed a blocked path. The solution? A distant wall symbol tucked in a left alcove. Hitting it with Basic Cast extended the bridge - a reminder that sometimes the simplest spells unlock progress. Then came the real test: rotating an Ancient Magic sigil near an archway. Surrounded by complex spells, I almost overlooked Basic Cast's rotational power! Transforming that stubborn pillar into a movable cube with precise casts felt immensely satisfying before pulling it through the gate toward phase three.
🔄 Phase 3: Portal Navigation
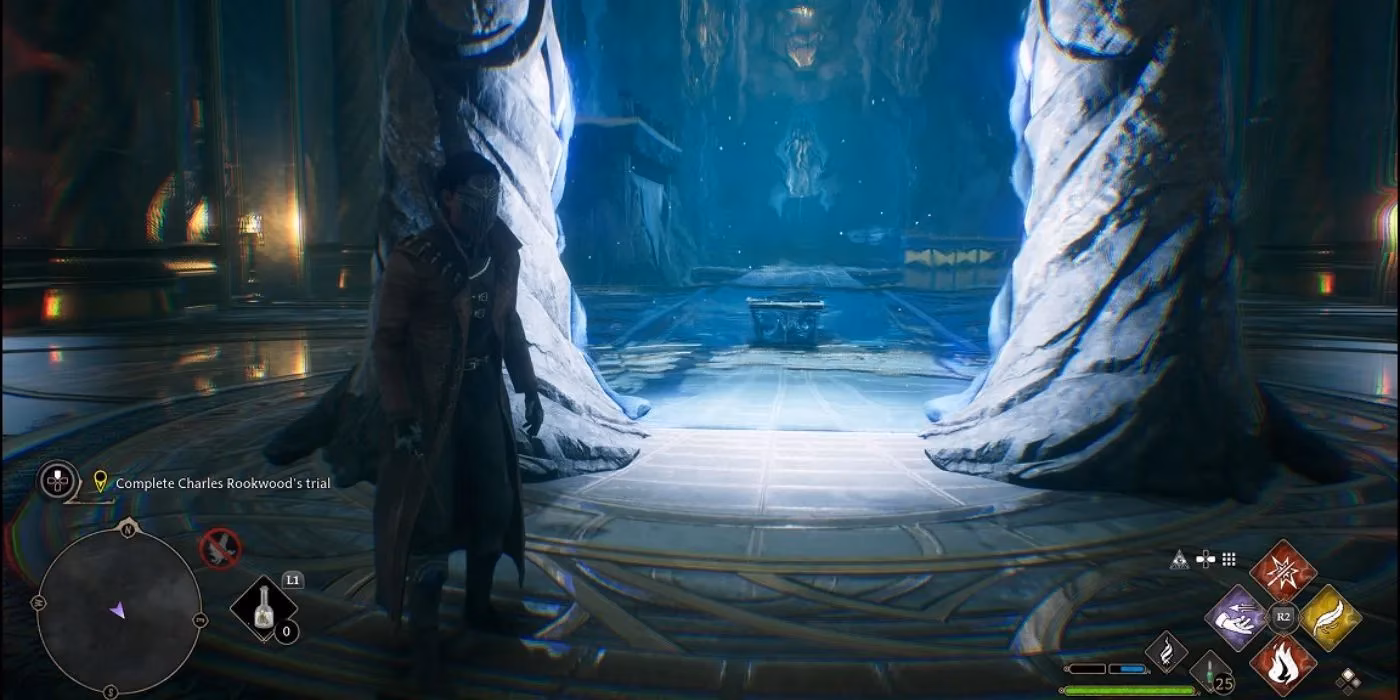
The third phase offered momentary respite with its straightforward portal mechanics. After activating the magic pool, I hit the sigil to rotate it toward the right path. Here's the trick: go through to the blue side, turn back, and recast to align the path. The portals' disorienting nature tested my spatial memory, but resisting overcomplication was key. This section taught me that portal magic responds to perspective - what appears blocked might simply need viewing from another angle.
⚔️ Phase 4: Invisible Enemies
Phase four unleashed the trial's true danger. Two portals revealed invisible Pensieve Protectors on a precarious circular platform. Blue flame circles signaled aerial attacks that could instantly knock me into the abyss - dodging became life-or-death! I hit symbols through portals to shift pathways, then battled while constantly monitoring which side of the portal exposed threats. The critical maneuver? Using Wingardium Leviosa to move a box to the red side while on blue, creating simultaneous tangible platforms. That pillar jump across the gap after realigning the platform tested both magical precision and athletic timing.
💥 Phase 5: Final Confrontation
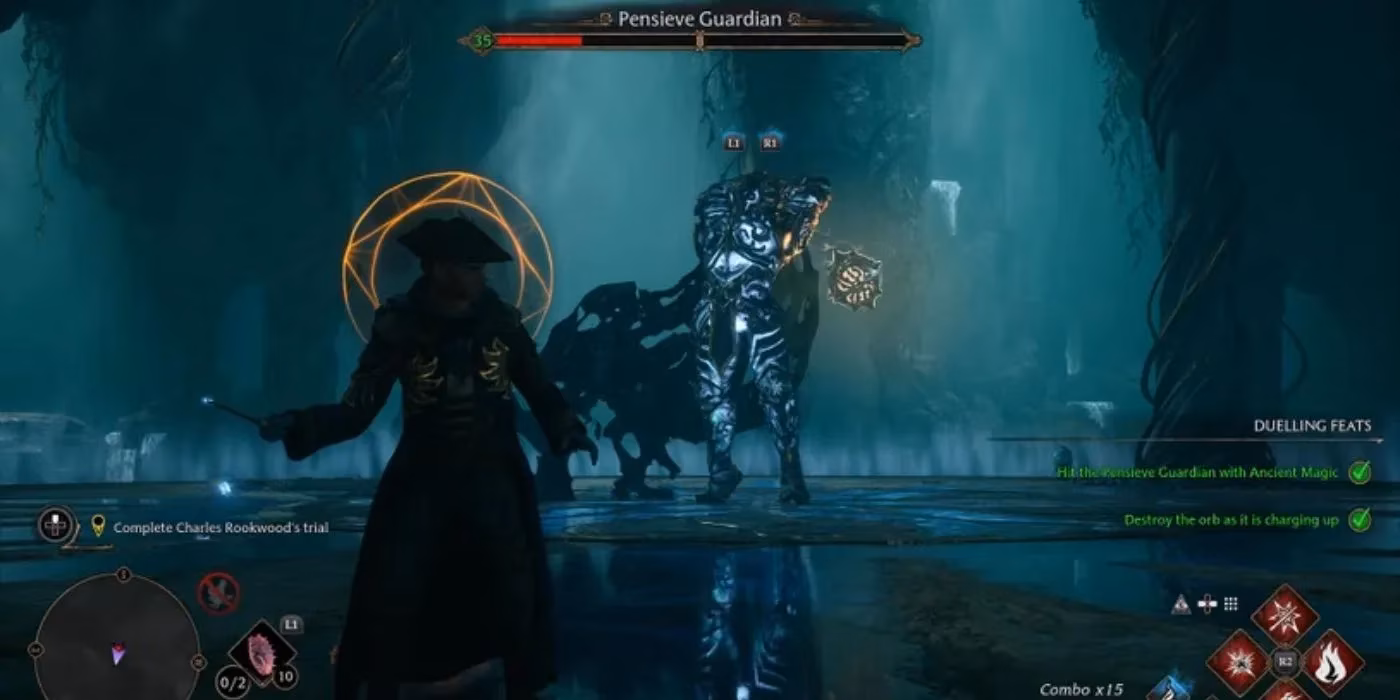
The climax descended into chaos. Pensieve Sentries activated immediately in the final chamber. Crossing the central portal revealed the catch: Protectors remained invisible until viewed from the correct side! I developed a rhythm: engage visible foes while dodging attacks from unseen enemies, then portal-jump to confront newly revealed threats. After defeating the last Guardian, the formed bridge led to Charles' memory - Isidora demonstrating magic to professors. Exiting through the Enchanted Stone archway returned me to the Map Chamber, where Rookwood and Rackham's portraits acknowledged my triumph before introducing Headmistress Fitzgerald's next trial.
❓ People Also Ask
Q: What's the hardest part of Rookwood's Trial?
A: Phase 4's invisible enemies combined with platforming hazards create the most intense challenge. One mistimed dodge against aerial shockwaves means instant death!
Q: Can you skip any trial sections?
A: Unfortunately no - each phase sequentially unlocks the next. But smart spell use (like Basic Cast rotations) significantly speeds up progress.
Q: What rewards come after completion?
A: Beyond advancing the main story, you gain crucial lore about Isidora and Ancient Magic, plus preparation for Niamh Fitzgerald's trial.
Q: How long does this trial take?
A: For most players? 60-90 minutes. Portal puzzles demand patience - rushing causes frustrating repeats!
This harrowing journey through Rookwood Castle taught me that magic's true power lies not in flashy spells but in understanding magical systems. That initial urgency Charles projected transformed into profound respect as I witnessed his memories. Though Ranrok's threat looms larger than ever in 2025, overcoming this trial proved that with precise spellwork and clever portal navigation, even Hogwarts Legacy's most daunting challenges can be conquered.
Comments